Advanced hyperlapse stabilization tutorial in After Effects


This is a follow-up to my first hyperlapse stabilization tutorial (https://www.youtube.com/watch?v=Fr9DF5iSSk4) with some more advanced techniques to deal with tricky hyperlapses. The most obvious way to stabilize a hyperlapse is with warp stabilizer, but it doesn’t always produce a perfect result. This tutorial explains how to stabilize a challenging hyperlapse in which warp stabilizer does not produce a good result and there is no single tracking point that is visible in every frame, so it is necessary to use multiple motion trackers and link them together.
0:06 Importing images into After Effects
0:19 Importing a sequence of jpg’s as a “JPEG sequence”
0:29 Creating a new composition
1:09 Try running warp stabilizer
1:36 Warp stabilizer settings
1:57 Example of subspace warp “jello” artifacts. “Position, Scale, Rotation” vs “Subspace Warp”
__________________________
3:34 Method 1: Position stabilization then rotation stabilization in two stages
3:40 How to open the tracker panel (Window -> Tracker)
3:49 Adding a motion tracker
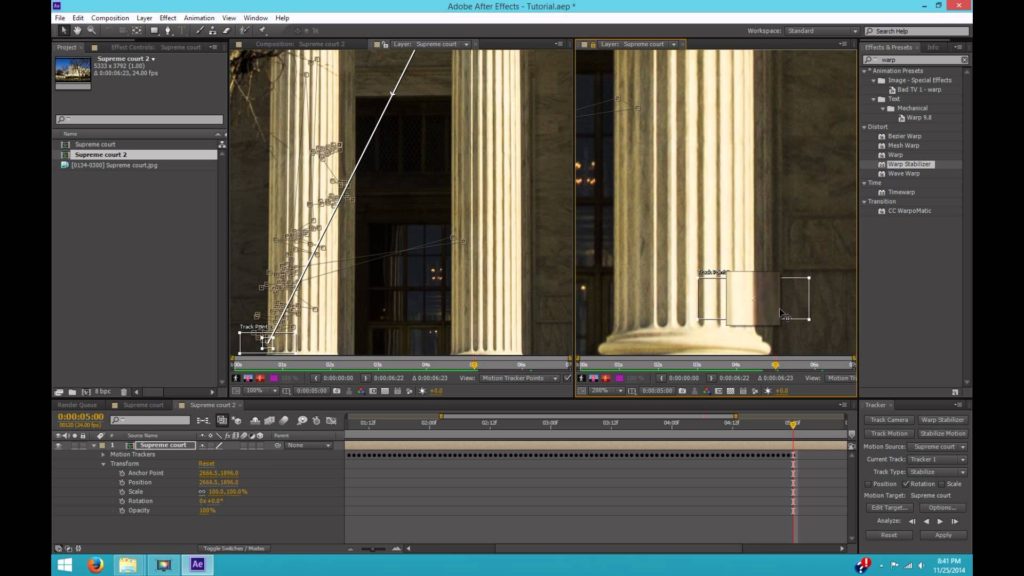
5:13 Adding tracking points
6:00 What to do when the tracking point I picked is no longer visible
6:50 create a second tracker and pick a new tracking point
8:05 create a third tracker and pick another new tracking point
9:20 Use a “track motion” tracker to stabilize an image. Apply motion trackers to stabilize footage
9:58 result of “position only” stabilization
10:26 Finding and fixing inaccurate tracking points after stabilizing
11:13 Increase the size of the composition to prevent cropping after stabilizing
11:58 Create a sub-composition
12:20 Create “rotation only” tracker
12:40 How to choose tracking points
14:35 Creating two separate layer windows to view different parts of the same image at the same time
18:00 Applying rotation tracking and an important note about the location of your anchor point
19:05 Moving your anchor point
19:56 Two-stage position + rotation tracking result
20:20 Create a sub composition and run warp stabilizer
20:53 warp stabilizer result
21:21 Attempting to fix a minor scaling issue with “scale only” stabilizing
22:26 Result after “scale only” stabilizing
22:45 re-sizing the composition to 1080P and cropping
23:10 Tip: hold down Ctrl while adjusting sliders to make smaller movements, hold down Shift to make larger movements
23:48 Using a null object to transform the scale and position of a layer
24:58 Final result of Part 1
__________________________
25:06 Method 2: Linking together multiple “position and rotation” trackers
25:37 Creating a “position and rotation” tracker
25:44 Choosing tracking points
26:22 The importance of tracking point 1: used for position and rotation tracking
27:00 What to do when the tracking point is no longer visible. Create tracker 2
27:55 Tracking point is hidden again. Create tracker 3.
28:37 Stabilize motion by applying tracker 1
29:02 Stabilize the next section by applying tracker 2
29:22 The “drifting” problem and why it happens
30:19 Fixing the “drifting” problem
30:42 Applying tracker 3
31:22 Position and rotation stabilization result
__________________________
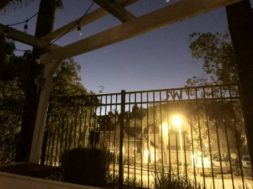
31:51 Method 3: using a non-vertical line for rotation correction
33:02 Stabilized image rotates / gets crooked
33:35 Creating a null object
33:40 Using the pick whip to parent the null object to my footage layer
34:04 Rotating the image with keyframes on the null object
34:25 Using a ruler to help straighten the image
34:51 Part 3 result after straightening with the null object
source