


http://www.learningdslrvideo.com/nikon-d800-timelapse-tutorial/
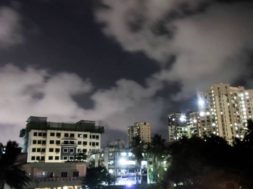
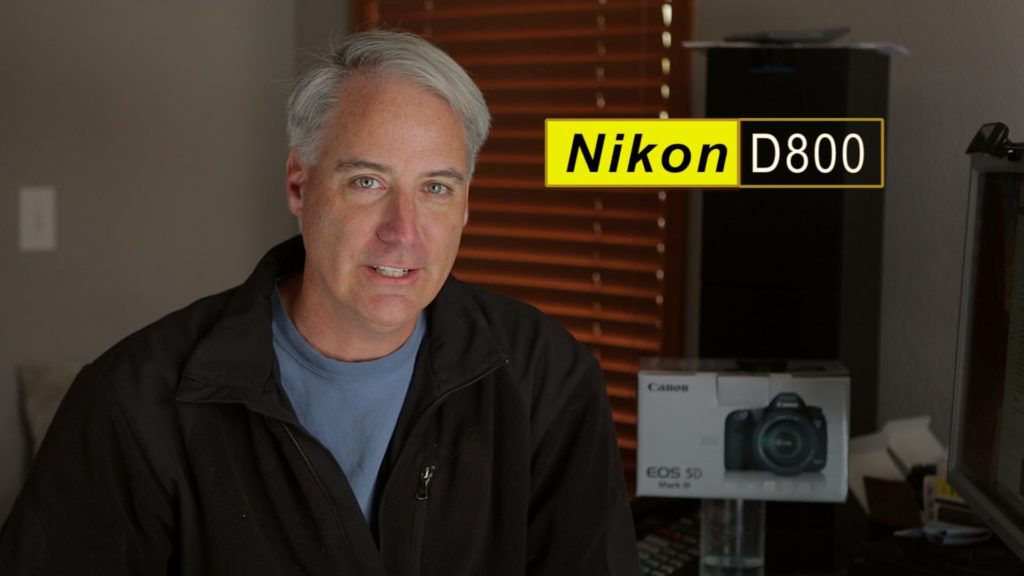
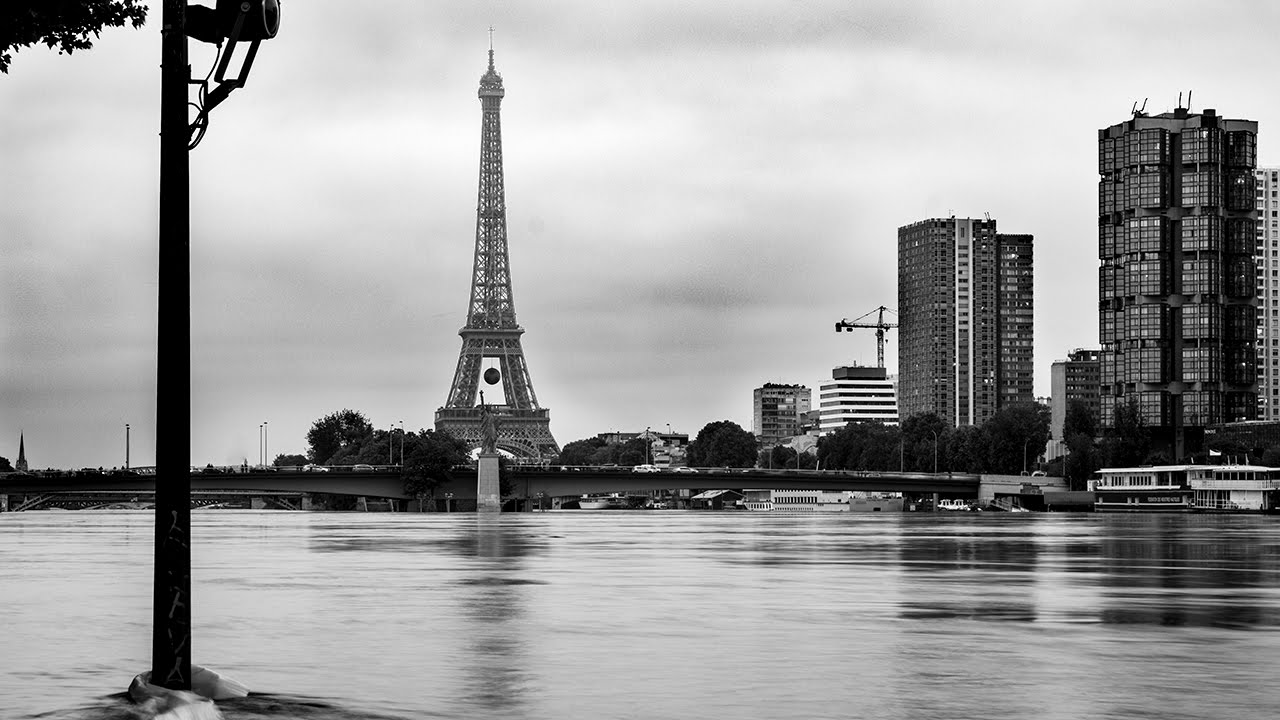
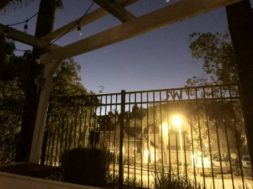
I got the Nikon D800 and the Canon 5D Mark III in for review. To play around with the low light performance I thought I would have fun do to a time lapse with the D800, and shoot the garage scenes with the Canon 5D Mark III.
Prices:
———–
Canon 5D Mark III:
http://www.bhphotovideo.com/c/product/847545-REG/Canon_5260A002_EOS_5D_Mark_III.html/BI/6499/KBID/7145
Nikon D800:
http://www.bhphotovideo.com/c/product/842926-REG/Nikon_25480_D800_SLR_Digital_Camera.html/BI/6499/KBID/7145
I set the D800 on a tripod in the backseat of our mini van and use shock cords to tie it down.
I used an ISO 100, 3.2 f-stop and .4 second shutter speed and I focused way out in front of the car.
Going in to the menu system on the Nikon I went to the ‘Shooting Menu’
– ‘Interval Timer Shooting’.
I then picked one second between shots for my interval. The manual shows 1 minute, but I put a 0 there.
I then went to ‘start’ on and pressed the OK button.
Before I started driving I wanted to see if the buffer in the camera could handle it on RAW, but after 10 exposures the camera slowed to a halt and couldn’t handle the over 70meg files I was sending its way. So I used the smallest jpg size and since that was still bigger in resolution to the 1080p video I was still in good shape.
Many ways to do this but one of my favorite is to use After Effects to process the images. Since I couldn’t shoot RAW I decided to skip the step of bring them in to Lightroom first.
After Effects Procedure
Open After Effects, and double click on the upper left pane on Project Tab.
Find the time lapse folder and select the first image the JPEG sequence should be checked already, click Open
Right click on the new sequence – Interpret Footage – Main check for 24fps
Change from 8bpc to 32bpc
Drag sequence on the new composition icon below it (3rd from left)
Composition – Composition Settings Preset select the “HDTV 1080 24”
Zoom out from 50 to Fit
Twirl down composition settings and change scale from 100% to 37% (or 52.5%)
Change your position as you see fit
Composition – Add to Render Queue
Click on the h.264 CHANGE to AVI and then uncheck audio
Click on the file name to the right and pick the folder and rename it
Click the render button (far right side)
Thank Alan Morris for not only the inspiration to do this video but his help in getting the right settings.
Products Used In This Video
Help me make more of these types of videos by purchasing gear from the links posted on my site. It costs you nothing extra, and helps support me to make more videos.
source